Do We Really Need an ISP Router? – Magenta Edition

upgrading your ISP’s default setup
Published on August 20, 2025 by Tomek Tomasik
ONT ISP Router MikroTik ZTE PPPoE
I think that after some years, everyone comes to the conclusion that having a public, static IP is a really nice thing, and it’s worth having one in your home network.
So, we choose a good offer from a reliable provider who offers such a service. We’re happy because we get fast fiber internet, but when the installer comes to our home and we turn on the router, we get the middle finger. It turns out that the “router” is only a router in name—aside from displaying a few parameters like our beautiful IP address, the WAN/LAN/Wi-Fi status, it doesn’t allow any configuration.
What’s more, if its case were a film production, it would win a Golden Raspberry Award… You can neither rack-mount it nor conveniently place it anywhere…
So we ask ourselves: why does the ISP even allow purchasing a static IP if we can’t really make use of it? Simple port forwarding is impossible, and we can’t redirect services to specific machines on our network. In fact, we can’t do anything… Well, not entirely—because with a bit of determination, we can work around some of these issues and disconnect the fiber cable from the “router.” However, for this, we need a separate ONT module (ZTE) and our own router. In our case, it will be a MikroTik hEX (RB750Gr3) running RouterOS v6.49.11.
We connect the first MikroTik port to the ONT, and one of the remaining ports to, say, our PC.
The default IP of a MikroTik is 192.168.88.1. So we modify our computer’s IP to be in the same subnet, manually setting it, for example, to 192.168.88.89. We type the address into the browser and… nothing happens. We open the console, ping it, and… we get “server unreachable.” Our fault—because we reset it, and instead of the default IP, it got 0.0.0.0. So we launch Winbox and connect to it via its MAC address.
We set it to some nice local IP, e.g., 192.168.0.1, and start configuring. First and foremost, we need our PPPoE credentials—username and password. Without them, we can’t do anything. If we’re lucky, technical support might give them to us over the phone. Supposedly, you can also find them in the contract documents, but personally, I had no trouble getting them from the support line.
In Winbox, we create a new PPPoE client:
Winbox → Interfaces → click + → PPPoE Client
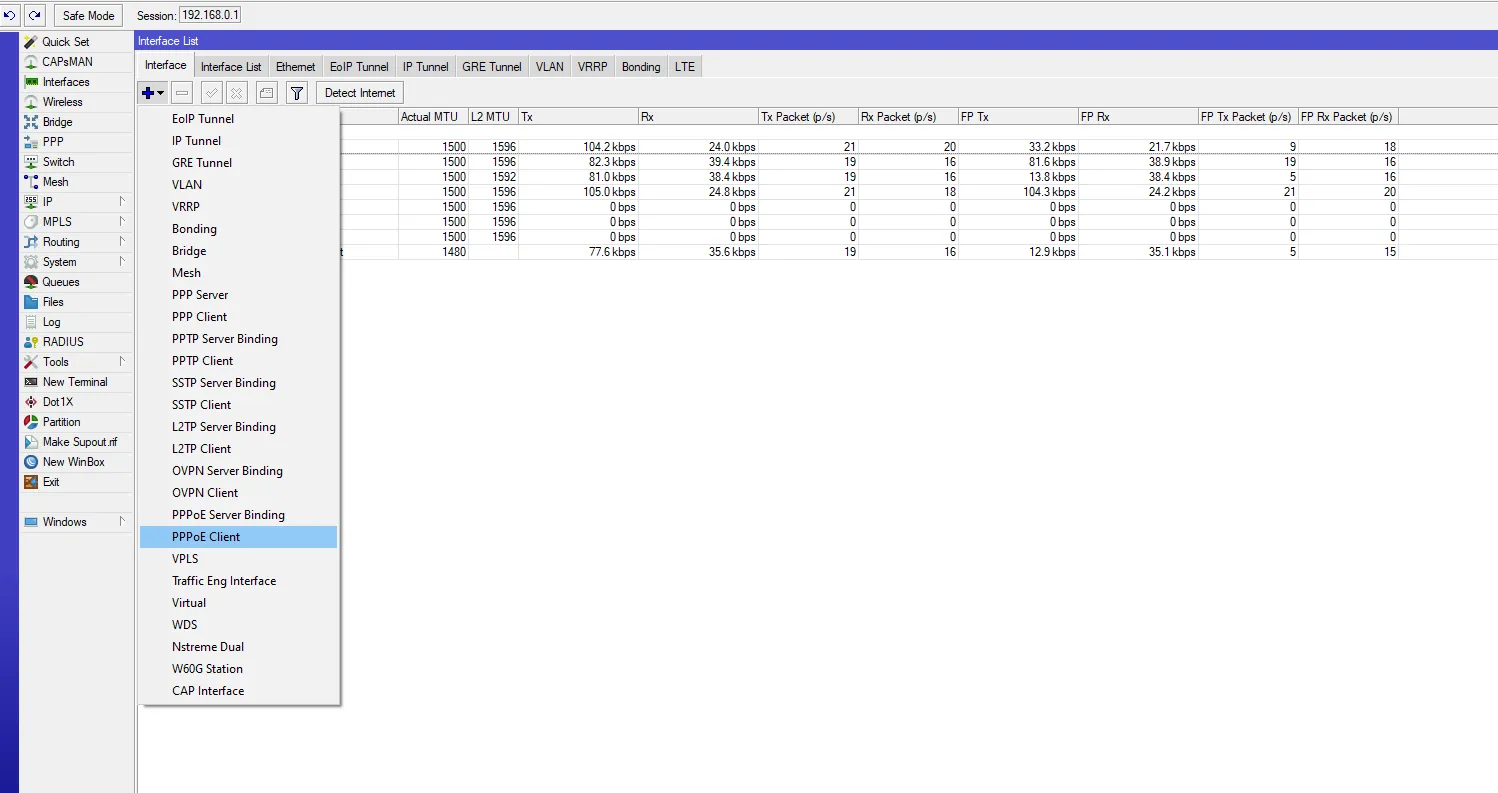
In the Dial Out tab, we enter our ISP login credentials.
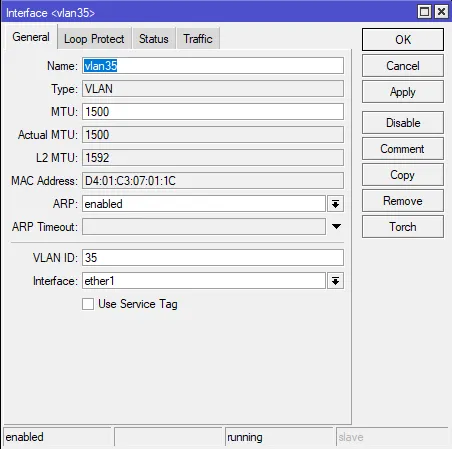
We tick the “Use peer DNS” checkbox. In theory, this should let us connect—but it turns out that it’s not yet possible. The ISP won’t tell us this, but we can guess it if we know the common practice: the connection goes through a VLAN. In this specific case, it’s VLAN 35.
After this simple step, everything should work—provided, of course, that we have configured our MikroTik properly, set up forwarding, and correctly configured hairpin NAT so we can see our servers from inside our own network.